D.I.Y Nail Care
Nail Maintenance:
It is important to regularly trim and file your nails with the help of sharp clippers. Never use any blunt tool to trim as it can cause damage. The best way to cut your nails is to first trim the nail straight across and finish it up by giving a gentle round shape to the tips. Then use a nail file to smoothen your nails. Wash your fingers and then wait for fifteen minutes before trimming and filing.
Massage Yourself: Take out time and massage your hands and feet properly. A simple hand and foot massage stimulates blood circulation and helps in the growth of nails, making them healthy and strong. Try to give yourself a hand massage with olive oil once in a week if possible.
Cuticle Care: Be sure to keep your nails and cuticles moisturized; you can do this by applying cuticle cream daily to encourage the growth of healthy nails.
Step By Step Manicure
Materials
- nail clippers
- nail file
- acetone
- hand scrub
- hand cream
- rubbing alcohol
- base coat
- nail polish
- top coat
- eyeshadow brush
- cuticle oil
Follow in Order
- Clip your nails: Use a nail clipper and trim your nails down to your desired length. We do not recommend cutting your cuticles at home, but if you’ve had a lot of practice and you are a pro, go for it. Just be aware that your cuticles can get infected if you don’t know what you’re doing!
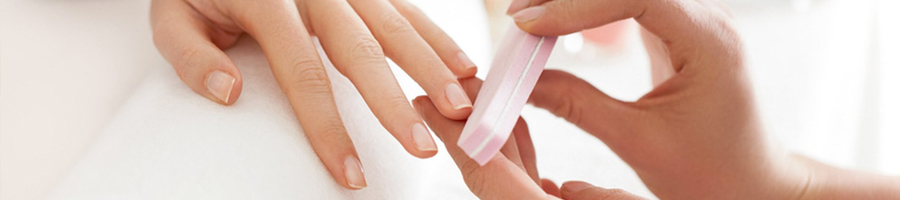
- File them into shape. Using an emery board nail file, shape your nails and even out any jagged edges. You can go for a rounded nail shape or a square shape. I usually like something that’s a little bit in the middle—square with rounded edges.
- Clean your nails. It is best to start with nails that are already polish-free, but I recommend getting them extra clean with polish remover and a cotton ball. You don’t want to have leftover polish or base coat on your nails because it will make your new manicure appear uneven.
- Gently exfoliate your hands. Using your favorite body scrub, give your hands a gentle rub. This will remove dead skin and give your skin a glow.
- Moisturize with hand cream. Just like the skin on your body and face, the skin on your hands needs moisture after you exfoliate it. Use a rich, luxurious hand cream to keep your skin smooth and hydrated.
- Prep your nails. Next, clean your nails again—this time with rubbing alcohol. It will remove the oils from your hand cream from your nails so that the polish will stay on longer. Plus, I have noticed that using rubbing alcohol instead of acetone for this step keep my polish chip-free for days!
- Apply a base coat. Evenly apply a thin layer of your trusty base coat to each nail.
- Choose a color and apply. Pick a color, any color…and apply two coats. Use quick, light strokes to allow polish to evenly distribute on each nail. And I recommend letting the first coat dry before applying the second. It will eliminate those little polish bubbles that no one likes.
- Let your nails dry and add a top coat.After your nails have dried, apply a quick-dry top coat. If you happen to accidentally smudge a nail, follow these steps for fixing it in a snap.
- Touch up with acetone and brush. Salon manicurists always perfect my nails by brushing off any polish that went “outside the lines” with a makeup brush and acetone. Doing this trick at home creates a polished, professional result. Just remember to apply some cuticle oil afterwards to that your nail beds don’t look dry.
Step By Step Pedicure
...it is not reccommended to do this by yourself often, as the angle needed to perform self-work can put a strain on your back. Ask a friend or family member to assist, it's easier to get them to say yes if you offer to do it for them as well.
Materials
- nail clippers
- nail file
- acetone
- foot cream
- foot soak
- warm footbath
- 2+ towels
- callus remover
- pumice bar
- base coat
- nail polish
- top coat
- eyeshadow brush
- cuticle oil
Follow in Order
- Prep your toes: First, gently remove all polish from your toes. File your toenails to the desired shape, then brush, and file dust away. If nails are long, trim with a nail clipper first.
- Soak your feet. Just because you aren't visiting a salon doesn't mean you don't get to enjoy a bit of relaxtion! Even with an at-home pedi, your feet should get to soak. Put a bath towel down under the warm footbath and drop those tired feet in. You can optionally add your favorite aromatherapy oil, Epsom salts, tea tree oil, etc. for added cleansing and fragrance. As your feet soak in the dishpan (or, if you're feeling pro, a foot bath) for five to ten minutes, your skin will be cleaned and softened, which is essential for the upcoming exfoliation. Don't forget to put on your favorite music and relax!
- Remove any dead skin. Next, apply callous remover to the calloused area of your feet. Allow it to sit for a few minutes. Then use the pumice bar to slough off dry, dead skin. This will reveal soft, smooth, and callous-free feet. After all, what's the point of having pretty toes if the rest of your feet are hardened and dry? Carefully wipe the feet after filing, and wash off all the callous remover. Rinse your feet in the pan of water and towel dry.
- Clean up your cuticles. Use the cuticle oil on the cuticles of your toes. Then, with one of your wooden stick pedicure tools, gently push them back. Now softly buff the nails and edges with the buffer block, removing any excess residue.
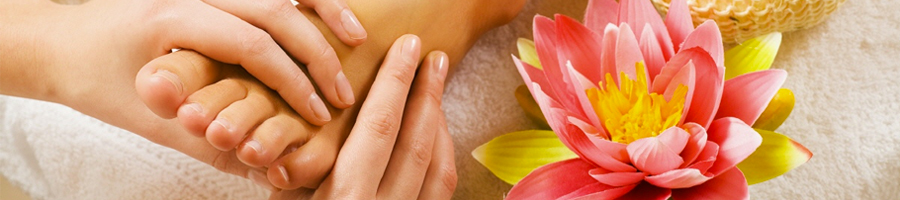
- Moisturize and massage. This is hands-down the best step of any pedi, whether at the salon or at home. Use your favorite moisturizing lotion to massage your feet, toes, and ankles. You can even go up the leg to knee if you choose. Work in circular motions on the foot and legs, as well as around the ankles—pinching the toes for circulation. Also massage arches and heals. Can you say ahhhhhh? Nothing beats a good foot massage. Once you're finished, remove residual moisturizing cream from the toenails.
- Prep your nails. Next, clean your nails again—this time with rubbing alcohol. It will remove the oils from your hand cream from your nails so that the polish will stay on longer. Plus, I have noticed that using rubbing alcohol instead of acetone for this step keep my polish chip-free for days!
- Apply a base coat. Evenly apply a thin layer of your trusty base coat to each nail.
- Choose a color and apply. Pick a color, any color…and apply two coats. Use quick, light strokes to allow polish to evenly distribute on each nail. And I recommend letting the first coat dry before applying the second. It will eliminate those little polish bubbles that no one likes.
- Let your nails dry and add a top coat.After your nails have dried, apply a quick-dry top coat. If you happen to accidentally smudge a nail, follow these steps for fixing it in a snap.
- Touch up with acetone and brush. Salon manicurists always perfect my nails by brushing off any polish that went “outside the lines” with a makeup brush and acetone. Doing this trick at home creates a polished, professional result. Just remember to apply some cuticle oil afterwards to that your nail beds don’t look dry.